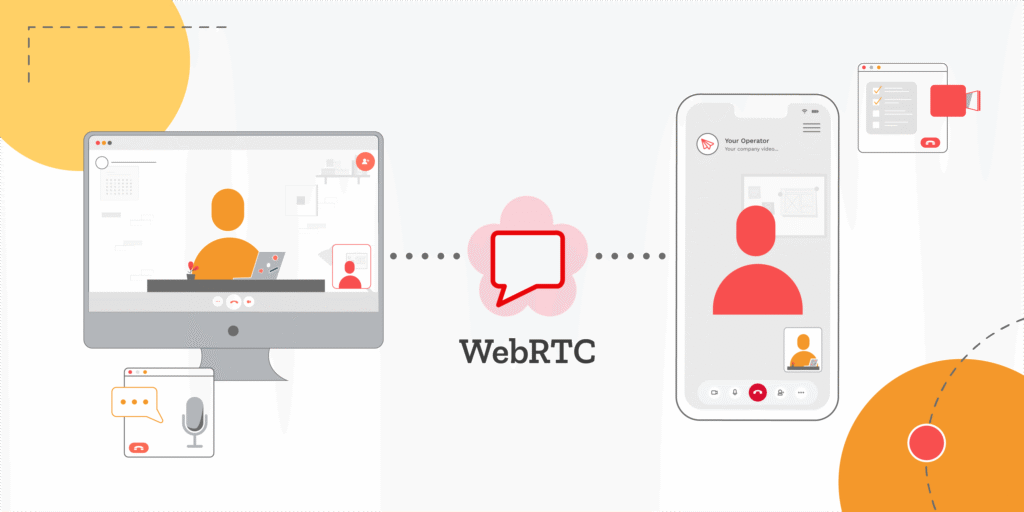
WebRTC helped to build a lightweight tool that let two people video chat and maybe swap messages or files—no Zoom, no Google Meet, no third-party backend. Just browser-to-browser, in real time. That’s when I got serious about WebRTC. Spoiler: it’s powerful, a bit tricky at first, but once it clicks, it feels like magic.
What is WebRTC Really?
It allows browsers to exchange video, audio, or data directly—peer-to-peer—without routing everything through a server. It’s built into all major browsers and powers apps like Google Meet and Discord under the hood.
Tools I Used
I kept it simple:
- Node.js
- Express (to serve frontend and handle signaling)
- Socket.io (for connection negotiation)
- Plain HTML/JS/CSS
- A stable WiFi connection (you’ll thank yourself later)
1- The Signaling Server
Although WebRTC is peer-to-peer, you still need a signaling server to exchange offers, answers, and ICE candidates before a direct connection forms. My signaling setup was a simple Node + Socket.io app:
javascript
*const express = require('express');
const http = require('http');
*const { Server } = require('socket.io');

const app = express();
*const server = http.createServer(app);
const io = new Server(server);

io.on('connection', socket => {
  socket.on('signal', data => {
    socket.broadcast.emit('signal', data);
  });
});

server.listen(3000, () => console.log('Signaling server on 3000'));
2- Getting the Video Stream
Next, I captured the user’s webcam using the getUserMedia() API:
javascriptnavigator.mediaDevices.getUserMedia({ video: true, audio: true })
.then(stream => {
document.getElementById('localVideo').srcObject = stream;
stream.getTracks().forEach(track => peerConnection.addTrack(track, stream));
})
.catch(err => console.error('Error accessing webcam:', err));
3- Setting Up the Peer Connection
I created the peer connection and handled ICE candidates:
javascriptconst peerConnection = new RTCPeerConnection();
peerConnection.onicecandidate = event => {
if (event.candidate) {
socket.emit('signal', { candidate: event.candidate });
}
};
peerConnection.ontrack = event => {
document.getElementById('remoteVideo').srcObject = event.streams[0];
};
4- Exchanging Offers and Answers
One peer creates and sends an offer
javascriptconst offer = await peerConnection.createOffer();
await peerConnection.setLocalDescription(offer);
socket.emit('signal', { offer });
The other peer receives it, sets it as their remote description, generates an answer, and sends it back.
5- Adding a Data Channel in WebRTC
To send messages over WebRTC, I added a DataChannel
javascriptconst dataChannel = peerConnection.createDataChannel("chat");
dataChannel.onmessage = e => console.log('Received:', e.data);
And on the receiving end:
javascriptpeerConnection.ondatachannel = e => {
const receiveChannel = e.channel;
receiveChannel.onmessage = msg => console.log('Chat:', msg.data);
};
What Tripped Me Up
- ICE candidates sometimes arrived too early. I queued them until the connection was ready.
- NAT and firewalls blocked peer connections on some networks. A TURN server is required for production.
- Browser inconsistencies: Chrome was reliable, Firefox had some quirks, and Safari was… Safari.
Is It Worth It to use WebRTC?
For hobby projects or internal tools? Absolutely. WebRTC offers a clean, efficient way to build real-time apps. For production, you’d need to add TURN servers, auth, and error handling—but the core experience is empowering.
Final Thoughts
This was one of the most satisfying things I’ve built. WebRTC channels felt like building the internet the way it was meant to be: peer-to-peer, simple, direct. No middlemen, no bandwidth hogs. Just code and connection.
Visit for more post:- CQRS and event sourcing in .net 8 best practices for scalable applications.


Pingback: Employee Expectations vs. Student Skills - BGS's